🌄 Why Hiking in the Philippines is Special
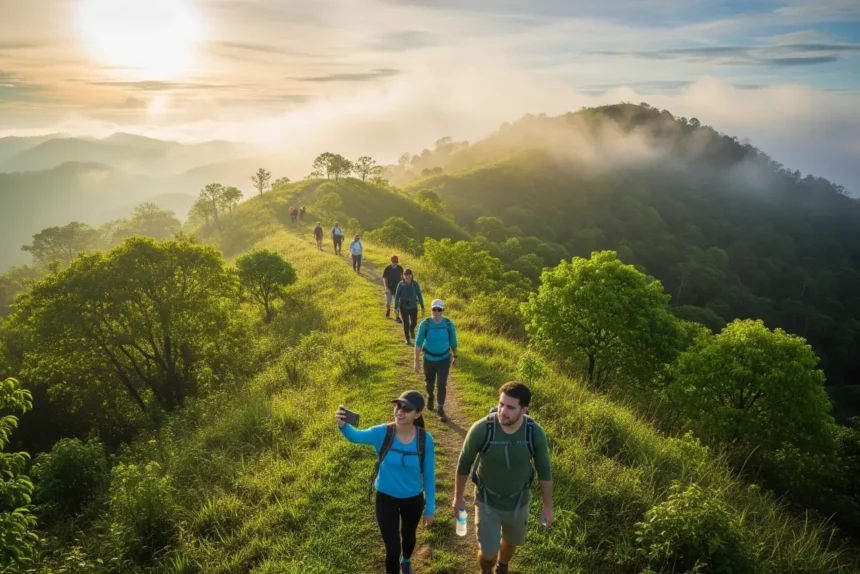
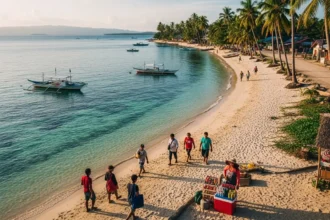
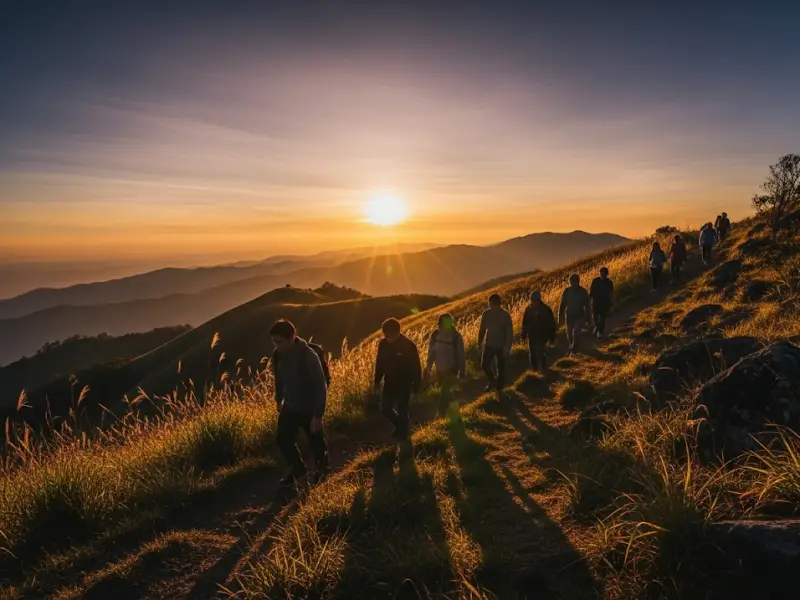
The Philippines isn’t just about its world-famous beaches. Beyond the powdery white sands of Boracay and the turquoise waters of Palawan, the country is home to dramatic mountains, ancient rice terraces, volcanoes, and hidden waterfalls. Hiking opens the door to these natural wonders, offering experiences that you won’t find in touristy resorts – sunrise at a mountain peak, cool mist in the air, and quiet trails that feel a world away from the city.
- 🌄 Why Hiking in the Philippines is Special
- 🎒 What You’ll Need: Essential Gear for Beginners
- 🛑 Safety First: Hiking Etiquette & Precautions
- 💸 How Much Does Hiking in the Philippines Cost?
- 🏔️ Best Beginner-Friendly Hiking Spots in the Philippines
- 🥾 How to Train for Your First Hike
- 📱 Useful Hiking Apps & Communities
- 🧾 Sample Itinerary for a Beginner Day Hike (Mt. Batulao)
- 📚 Frequently Asked Questions
- ❤️ Hiking is More Than Reaching the Summit
What makes hiking here unique is the diversity. In Luzon, you can trek through the Cordilleras and walk along paths carved by generations of farmers. In the Visayas, trails like Osmeña Peak bring you to jagged hilltops with panoramic views of the sea. In Mindanao, mountains like Kitanglad or Hibok-Hibok let you witness landscapes that blend forest, farmland, and folklore. Each region offers a different kind of magic, and every trail tells a story – not just of nature, but of the communities that live beside it.
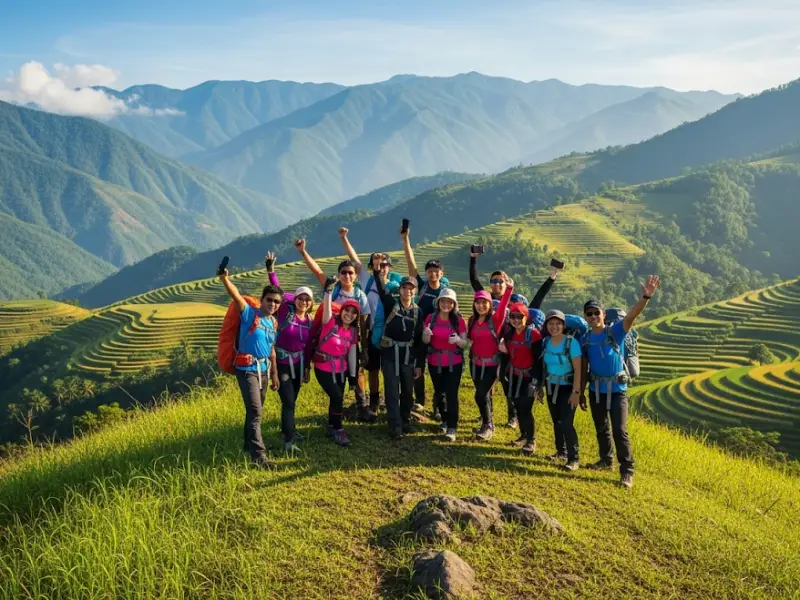
And the best part? You don’t need to be a seasoned mountaineer to start. The Philippines is full of beginner-friendly trails just a few hours away from major cities. Many hikes are short enough for a day trip, but rewarding enough to give you sweeping views, fresh air, and that sense of achievement at the summit. If you’ve never hiked before, this guide will help you take that first step – with tips on what to bring, how much to spend, and where to go for your very first adventure.
🎒 What You’ll Need: Essential Gear for Beginners
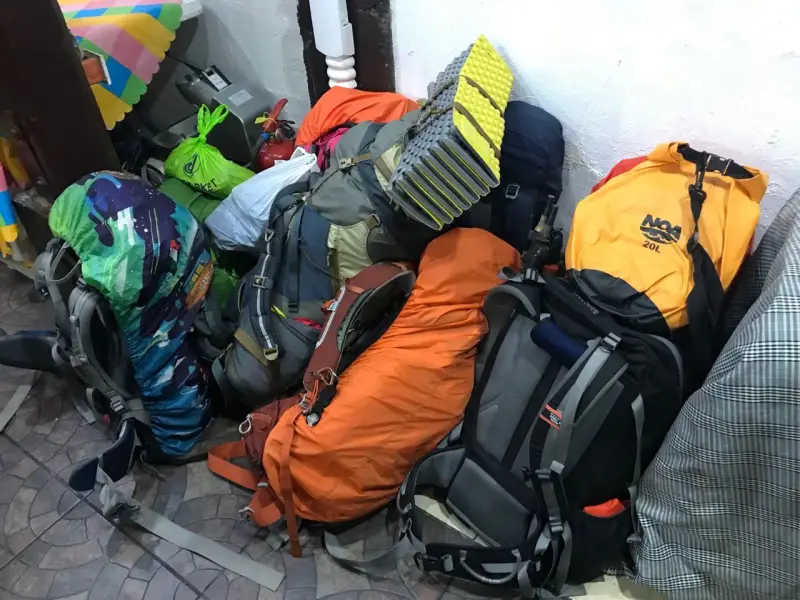
You don’t need expensive gear to start hiking. But you do need the basics to stay comfortable and safe.
| Item | Why You Need It | Tipid Alternative |
|---|---|---|
| Comfortable Shoes | Hiking shoes are great, but rubber shoes work too | Old but sturdy sneakers |
| Backpack (20–30L) | For snacks, water, extra clothes | Any school backpack |
| Water Bottle | Hydration is life! | Refillable plastic bottle |
| Extra Clothes | You’ll sweat – trust me | Simple dri-fit shirt |
| Jacket / Raincoat | Weather in PH mountains is unpredictable | Cheap poncho from Divisoria |
| Snacks (trail food) | Energy booster | Skyflakes, banana, peanuts |
| Power Bank | For phones and emergency calls | Borrow from a friend |
👉 Pro Tip: Always pack extra water. It’s the most common mistake first-timers make.
🛑 Safety First: Hiking Etiquette & Precautions
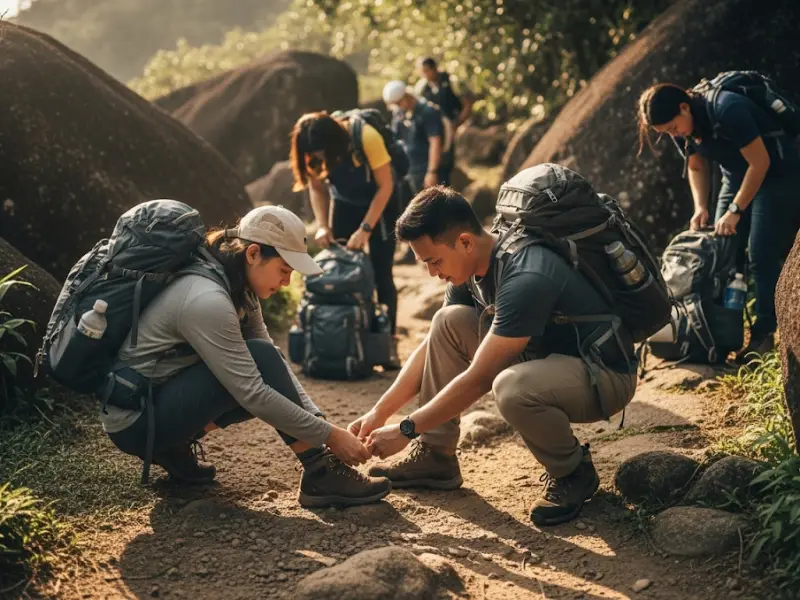
Before you hit the trail, remember that hiking isn’t just about reaching the summit – it’s about doing it safely and respectfully. Here are the golden rules every beginner should know:
📝 1. Register at the Jump-Off Point
Almost every trail in the Philippines has a barangay outpost or registration area. This isn’t just for collecting fees (usually ₱30–₱100) – it’s also for safety. Your name gets logged, so if something happens, the locals know you’re on the mountain. It also helps support the community maintaining the trail.
🧭 2. Hire a Guide if Needed
For first-timers, a local guide is worth it. Fees range from ₱500–₱1,000 per group, and guides know the safest routes, the best viewpoints, and the local stories behind the mountain. Some even double as photographers for your group shots – sulit na!
🌅 3. Start Early
Weather in the mountains changes quickly. The earlier you start, the better your chances of clear skies and avoiding the afternoon rains. Plus, you’ll have more daylight for both the hike and the commute home. Sunrise hikes are magical – but bring a flashlight or headlamp if you’ll start before dawn.
🌱 4. Respect Nature
The number one rule: leave no trace. Don’t litter, don’t vandalize rocks or trees, and avoid picking flowers or plants. If you brought it up, bring it back down. Remember, thousands of hikers come after you – don’t ruin the experience for them.
🐢 5. Pace Yourself
Hiking isn’t a race. It’s okay to stop, catch your breath, and enjoy the view. Take breaks when needed, especially if you’re not used to physical activity. Drink water regularly to avoid cramps. Kung hinihingal ka after 10 minutes – relax, normal lang yan sa first climb. Darating ka rin sa tuktok, just take it one step at a time.
📞 6. Always Inform Someone
Before leaving, tell a friend or family member your destination and estimated return time. Cell signal is unreliable in many trails, so it’s good practice to have someone aware of your plans. Some hiking groups also share real-time updates via group chats – safety in numbers.
🚫 7. Respect Locals and Fellow Hikers
Say hello (“Good morning po!”) when passing locals or other hikers. If you see a farmer leading a carabao, give way. If someone is hiking slower ahead of you, overtake politely. Hiking is as much about community as it is about adventure.
🌦️ 8. Best Time to Hike in the Philippines
The safest season for hiking is during the dry months (November to May). Trails are less slippery, rivers are clearer, and the risk of landslides is lower. The rainy season (June to October) makes hikes more challenging and sometimes dangerous – muddy paths, strong river currents, and surprise thunderstorms. Always check PAGASA weather updates before heading out, especially if your trail passes through rivers or exposed ridges.
Leave No Trace Principles |
|---|
| ✅ Plan ahead and prepare |
| ✅ Travel and camp on durable surfaces |
| ✅ Dispose of waste properly (take trash with you) |
| ✅ Leave what you find |
| ✅ Minimize campfire impact |
| ✅ Respect wildlife |
| ✅ Be considerate of other visitors |
💸 How Much Does Hiking in the Philippines Cost?
Hiking is one of the cheapest adventures you can do. Here’s a breakdown for a beginner day hike near Manila:
| Expense | Cost Range |
|---|---|
| Registration / Environmental Fee | ₱30 – ₱200 |
| Guide Fee (per group) | ₱500 – ₱1,000 |
| Transport (roundtrip) | ₱200 – ₱500 |
| Food / Snacks | ₱100 – ₱200 |
| Total (per person) | ₱500 – ₱1,000 |
If you split costs with a barkada or family, it’s even cheaper per head.
🏔️ Best Beginner-Friendly Hiking Spots in the Philippines
Ready to try your first climb? Here are some of the most recommended hikes for newbies:
Luzon
-
Mt. Batulao (Batangas) – Easy to moderate, 2–3 hours up and down. From Manila, take a bus to Nasugbu and get off at Evercrest. Perfect for first-timers.
-
Mt. Pico de Loro (Cavite-Batangas) – Known for the Monolith view, moderate but doable.
-
Mt. Maculot (Batangas) – Famous Rockies viewpoint, perfect for sunrise hikes.
-
Mt. Pinatubo (Tarlac) – Crater lake trek, unique landscape.
Visayas
-
Osmeña Peak (Cebu) – Easy, 20–30 minutes trek from the jump-off. Accessible via habal-habal (motorbike) ride from Dalaguete town.
-
Mt. Kanlaon (Negros) – Longer hike but beginner trails exist.
-
Mt. Manunggal (Cebu) – Historical, scenic, and beginner-friendly.
Mindanao
-
Mt. Capistrano (Bukidnon) – Moderate, 2–3 hours. Jump-off is near Malaybalay, accessible by jeepney or habal-habal.
-
Mt. Hibok-Hibok (Camiguin) – More challenging but with stunning crater lakes.
-
Mt. Kitanglad Range (Bukidnon) – Beginner-friendly trails with guides.
👉 Pro Tip: Start with day hikes near Manila if you’re based in Luzon.
🥾 How to Train for Your First Hike
The good news is you don’t need to be an athlete to enjoy hiking. Most beginner-friendly trails in the Philippines are short and manageable, but preparing your body ahead of time will make the experience smoother and more enjoyable. Think of it as “conditioning” – para hindi ka hingal kabayo sa unang 10 minutes. Here are simple ways to train:
🚶 1. Walk Daily to Build Endurance
Commit to a 30-minute walk every day for at least 2 weeks before your hike. If you can, gradually increase your pace or extend your distance. This helps your lungs adjust and your legs build the stamina needed for uphill climbs. Walking in the morning also mimics the early call times of most hikes.
🏃 2. Do Stairs Instead of Elevators
Filipino hikes are rarely flat – expect uphills, rocky steps, and steep trails. A great way to prepare is by using stairs instead of elevators or escalators. Even climbing a few flights daily builds leg strength and simulates the effort of a mountain trail.
🧘 3. Stretch Before and After Walking
Flexibility is often overlooked, but it prevents cramps and injuries. Do simple leg stretches, hamstring pulls, and arm rotations before your practice walks. After hiking or training, stretch again to release tension in your muscles. Yoga or light stretching routines also help balance and core strength.
🎒 4. Practice With a Backpack
Many beginners forget that hiking means carrying extra weight – water, snacks, and gear. Try walking or climbing stairs with a light backpack (3–5 kg) to get used to the load. This way, you won’t be surprised when your bag feels heavier during the actual climb.
💪 5. Optional Strength Training
If you have access to a gym or want to take it further, add squats, lunges, and planks a few times a week. These exercises strengthen your legs and core, making steep trails easier to manage.
📶 6. Mobile Signal & Emergencies
Don’t expect full bars while hiking – many mountain trails have weak or no mobile signal. Download offline maps (Google Maps or AllTrails) before the trip. For emergencies, guides and locals often know spots where signal is stronger. Bring a basic first-aid kit, and keep the number of the local barangay rescue unit if available.
📱 Useful Hiking Apps & Communities
Hiking may feel like a “disconnect from the digital world” activity, pero truth is, the right apps and communities can make your first climbs easier, safer, and even more fun. Here are some resources worth checking out:
📊 Strava / Relive
-
Best for: Tracking your hike distance, time, and elevation.
-
Why it’s useful: Strava records your pace and calories burned, while Relive creates a 3D video map of your route – perfect for sharing your hike on social media. Nakakatuwa rin makita yung actual trail you covered.
🗺️ AllTrails
-
Best for: Discovering new trails around the world.
-
Why it’s useful: It has a huge global hiking database, with user reviews, difficulty ratings, and photos. While not every Philippine trail is listed, more popular ones like Mt. Batulao or Mt. Maculot are available. Good starting point for research.
🌐 Pinoy Mountaineer (Website)
-
Best for: Reliable, detailed info specific to the Philippines.
-
Why it’s useful: Run by veteran hiker Gideon Lasco, this site is the go-to reference for trail guides, difficulty levels, fees, and itineraries. If you’re unsure about logistics, check Pinoy Mountaineer first – parang hiking bible ng Pilipinas.
👥 Facebook Hiking Groups
-
Best for: Real-time updates, community connections, and joining organized hikes.
-
Why it’s useful: Groups like Climb Philippines, Pinoy Hikers, and Tara Na’t Mag-Hike share event invites, weather alerts, and trail conditions. It’s also the easiest way for beginners to find group hikes without having to organize everything themselves.
🧾 Sample Itinerary for a Beginner Day Hike (Mt. Batulao)
Most hikes end near carinderias or small eateries where you can celebrate with a cheap but hearty meal. For example, Mt. Batulao hikers often eat at roadside tapsilogan spots after the climb. In Rizal hikes, lugawan (porridge stalls) are common. These post-hike meals are part of the experience – mura na, masarap pa.
| Time | Activity |
|---|---|
| 4:30 AM | Meet-up in Manila, bus to Batangas |
| 6:30 AM | Arrive at jump-off, register |
| 7:00 AM | Start hike with guide |
| 9:00 AM | Reach summit, enjoy views, photo ops |
| 10:00 AM | Start descent |
| 12:00 NN | Lunch at carinderia near jump-off |
| 1:00 PM | Travel back to Manila |
| 3:00 PM | ETA Manila, end of hike |
📚 Frequently Asked Questions
Do I need to be super fit to hike in the Philippines?
Not at all. Many beginner trails are short and manageable. Start small and progress slowly.
What’s the best season to hike?
Dry season (November–May) is safest. Rainy season hikes are risky due to mud and landslides.
Are kids allowed on hikes?
Yes, some easy trails (like Osmeña Peak) are family-friendly. Just bring extra snacks and water.
Can I hike alone?
It’s safer to join a group or hire a guide, especially if it’s your first hike.
Is camping required?
Not for beginner day hikes. Many trails can be done in 3–5 hours.
What’s the cheapest hike near Manila?
Mt. Balagbag (Rizal) and Mt. Manabu (Batangas) are budget-friendly, under ₱500.
Do I need permits?
Most hikes only require a registration fee. Major climbs (like Mt. Apo) need permits.
What if it rains during my hike?
Bring a raincoat, secure your electronics in plastic, and hike carefully. Some organizers cancel trips if weather is too risky.
❤️ Hiking is More Than Reaching the Summit
The first time I hiked Mt. Maculot, I thought I wouldn’t make it. My legs felt like jelly, hingal na hingal after the first 20 minutes. But when I finally stood at the Rockies viewpoint, watching the sunrise spill over Taal Lake, it felt worth every step.
That’s the magic of hiking in the Philippines. It teaches patience, teamwork, and appreciation for nature. Whether you’re hiking with friends, family, or even solo, you’ll realize that the summit is just a bonus. The true reward is the journey itself – the laughter on the trail, the carinderia meals after, the stories you’ll keep retelling.
So, if you’ve been hesitating to try hiking, this is your sign. Lace up your shoes, pack your water, and take that first step. The mountains of the Philippines are waiting – and they welcome beginners with open arms.


